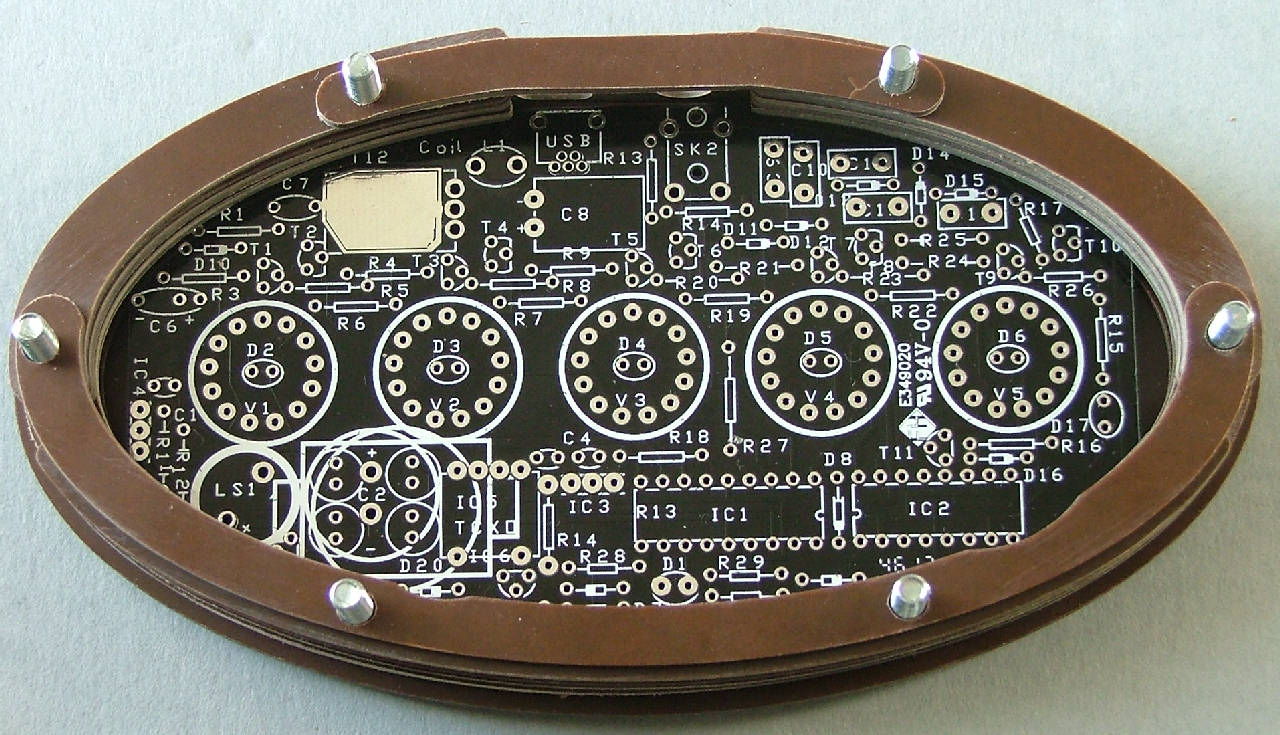
These are the bakelite case instructions for now but are identical apart from the copper top and bottom pieces. These will need a lot of sanding and polishing for the best effect and you can use engravers wax or acrylic paint to fill the serial number under the base panel.
Unpack the case piece bag and separate the laminate parts for sanding. Spending some time here wet sanding with fine emery paper will give a *much* smoother rounded finish.
Carefully sand the side rings, the faces will be hidden so scratches aren't so much of a problem but they are fragile so don't put too much pressure on them.
Some of the bolt holes are routed to be a tight fit to form a rigid case, you may prefer to enlarge them a little to make assembly easier.
Top row, from the left:
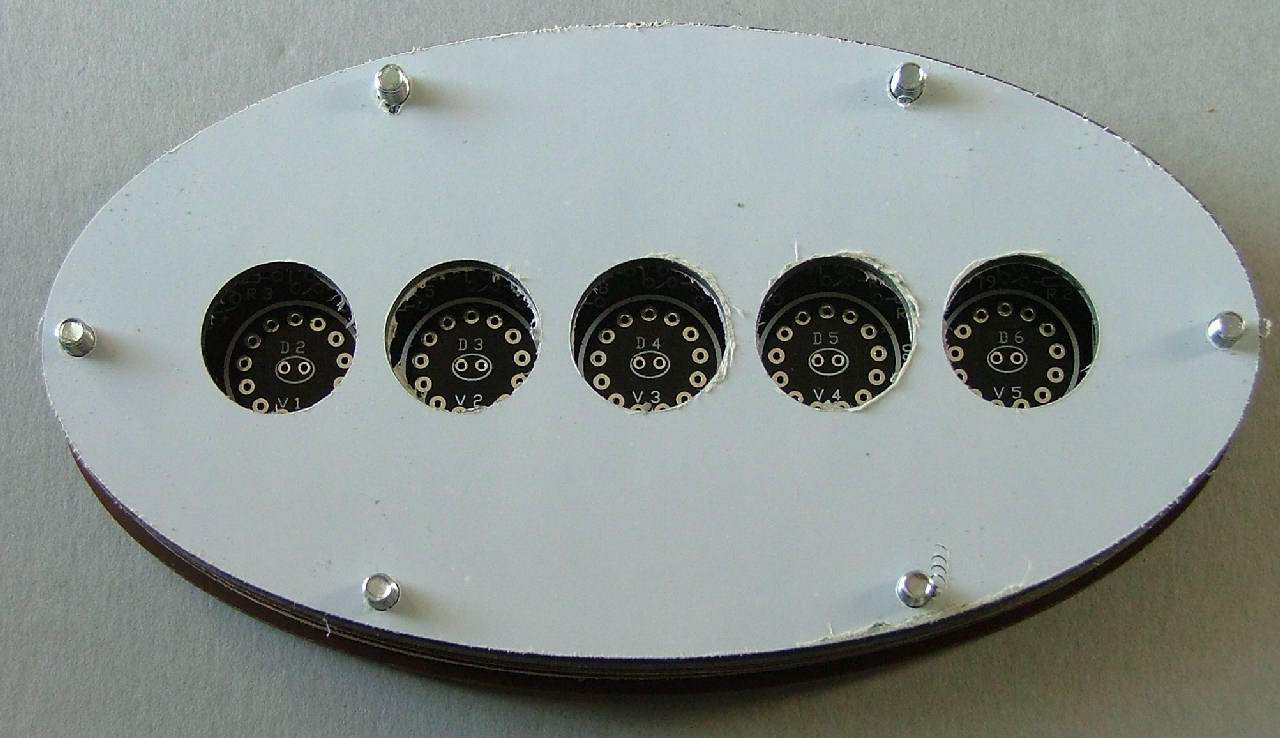
PCB ring
Bakelite top (Not used in this version)
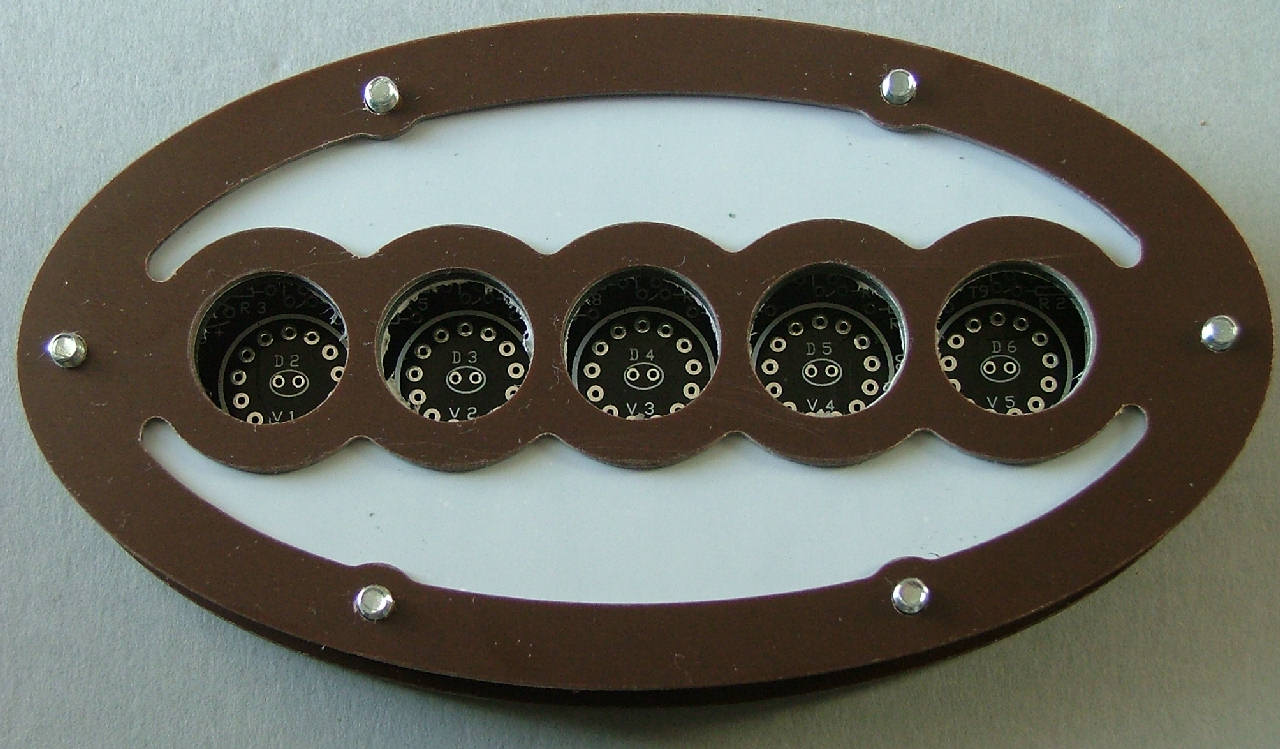
Wide quarter rings
Middle:
Wide ring
Base (Not used in this version)
IR plastic lid
Narrow rings
Half ring
Bridge,back and feet
Bottom:
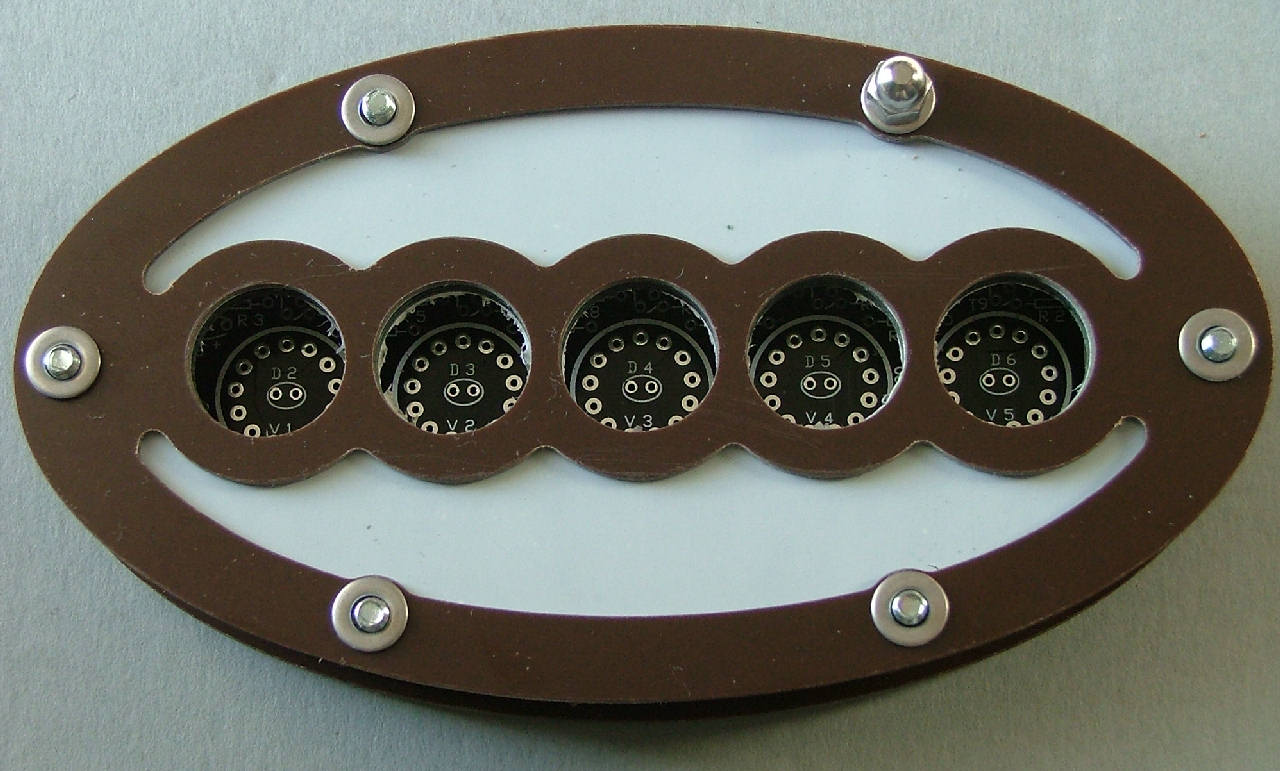
Wide half rings
Narrow half rings
Narrow quarter rings